
DIY blackout curtains in 3 easy steps | renter & beginner friendly!
I didn’t know that what I had created was genius until we moved 3 times in 6 months for various reasons. What I did know was that I was not going to be putting up curtain rods again in a rent option. I sold those suckers as soon as I determined this solution was working
I will say, there are a few pre-made versions on Amazon, but this was cheaper and gave me more options for color and style! I’ll link some of the materials I used but really you can go rogue.
Here is what you need:
any blackout curtains or regular curtains you want! Make sure these are wider and longer than your window dimensions
Optional: Velcro command strips


Step 1:
Place one side of the fabric Velcro along your entire curtain panel and cut off the excess.
Step 2:
Place the other side of your fabric tape an inch or two above your window (You can change this depending on curtain length and desired look) and an inch or two beyond the length of the window on both sides. This gives you some cushion space and makes sure that your curtains will block light more efficiently. I usually place one end and then cut the length once I have it already on the wall to make things easier.
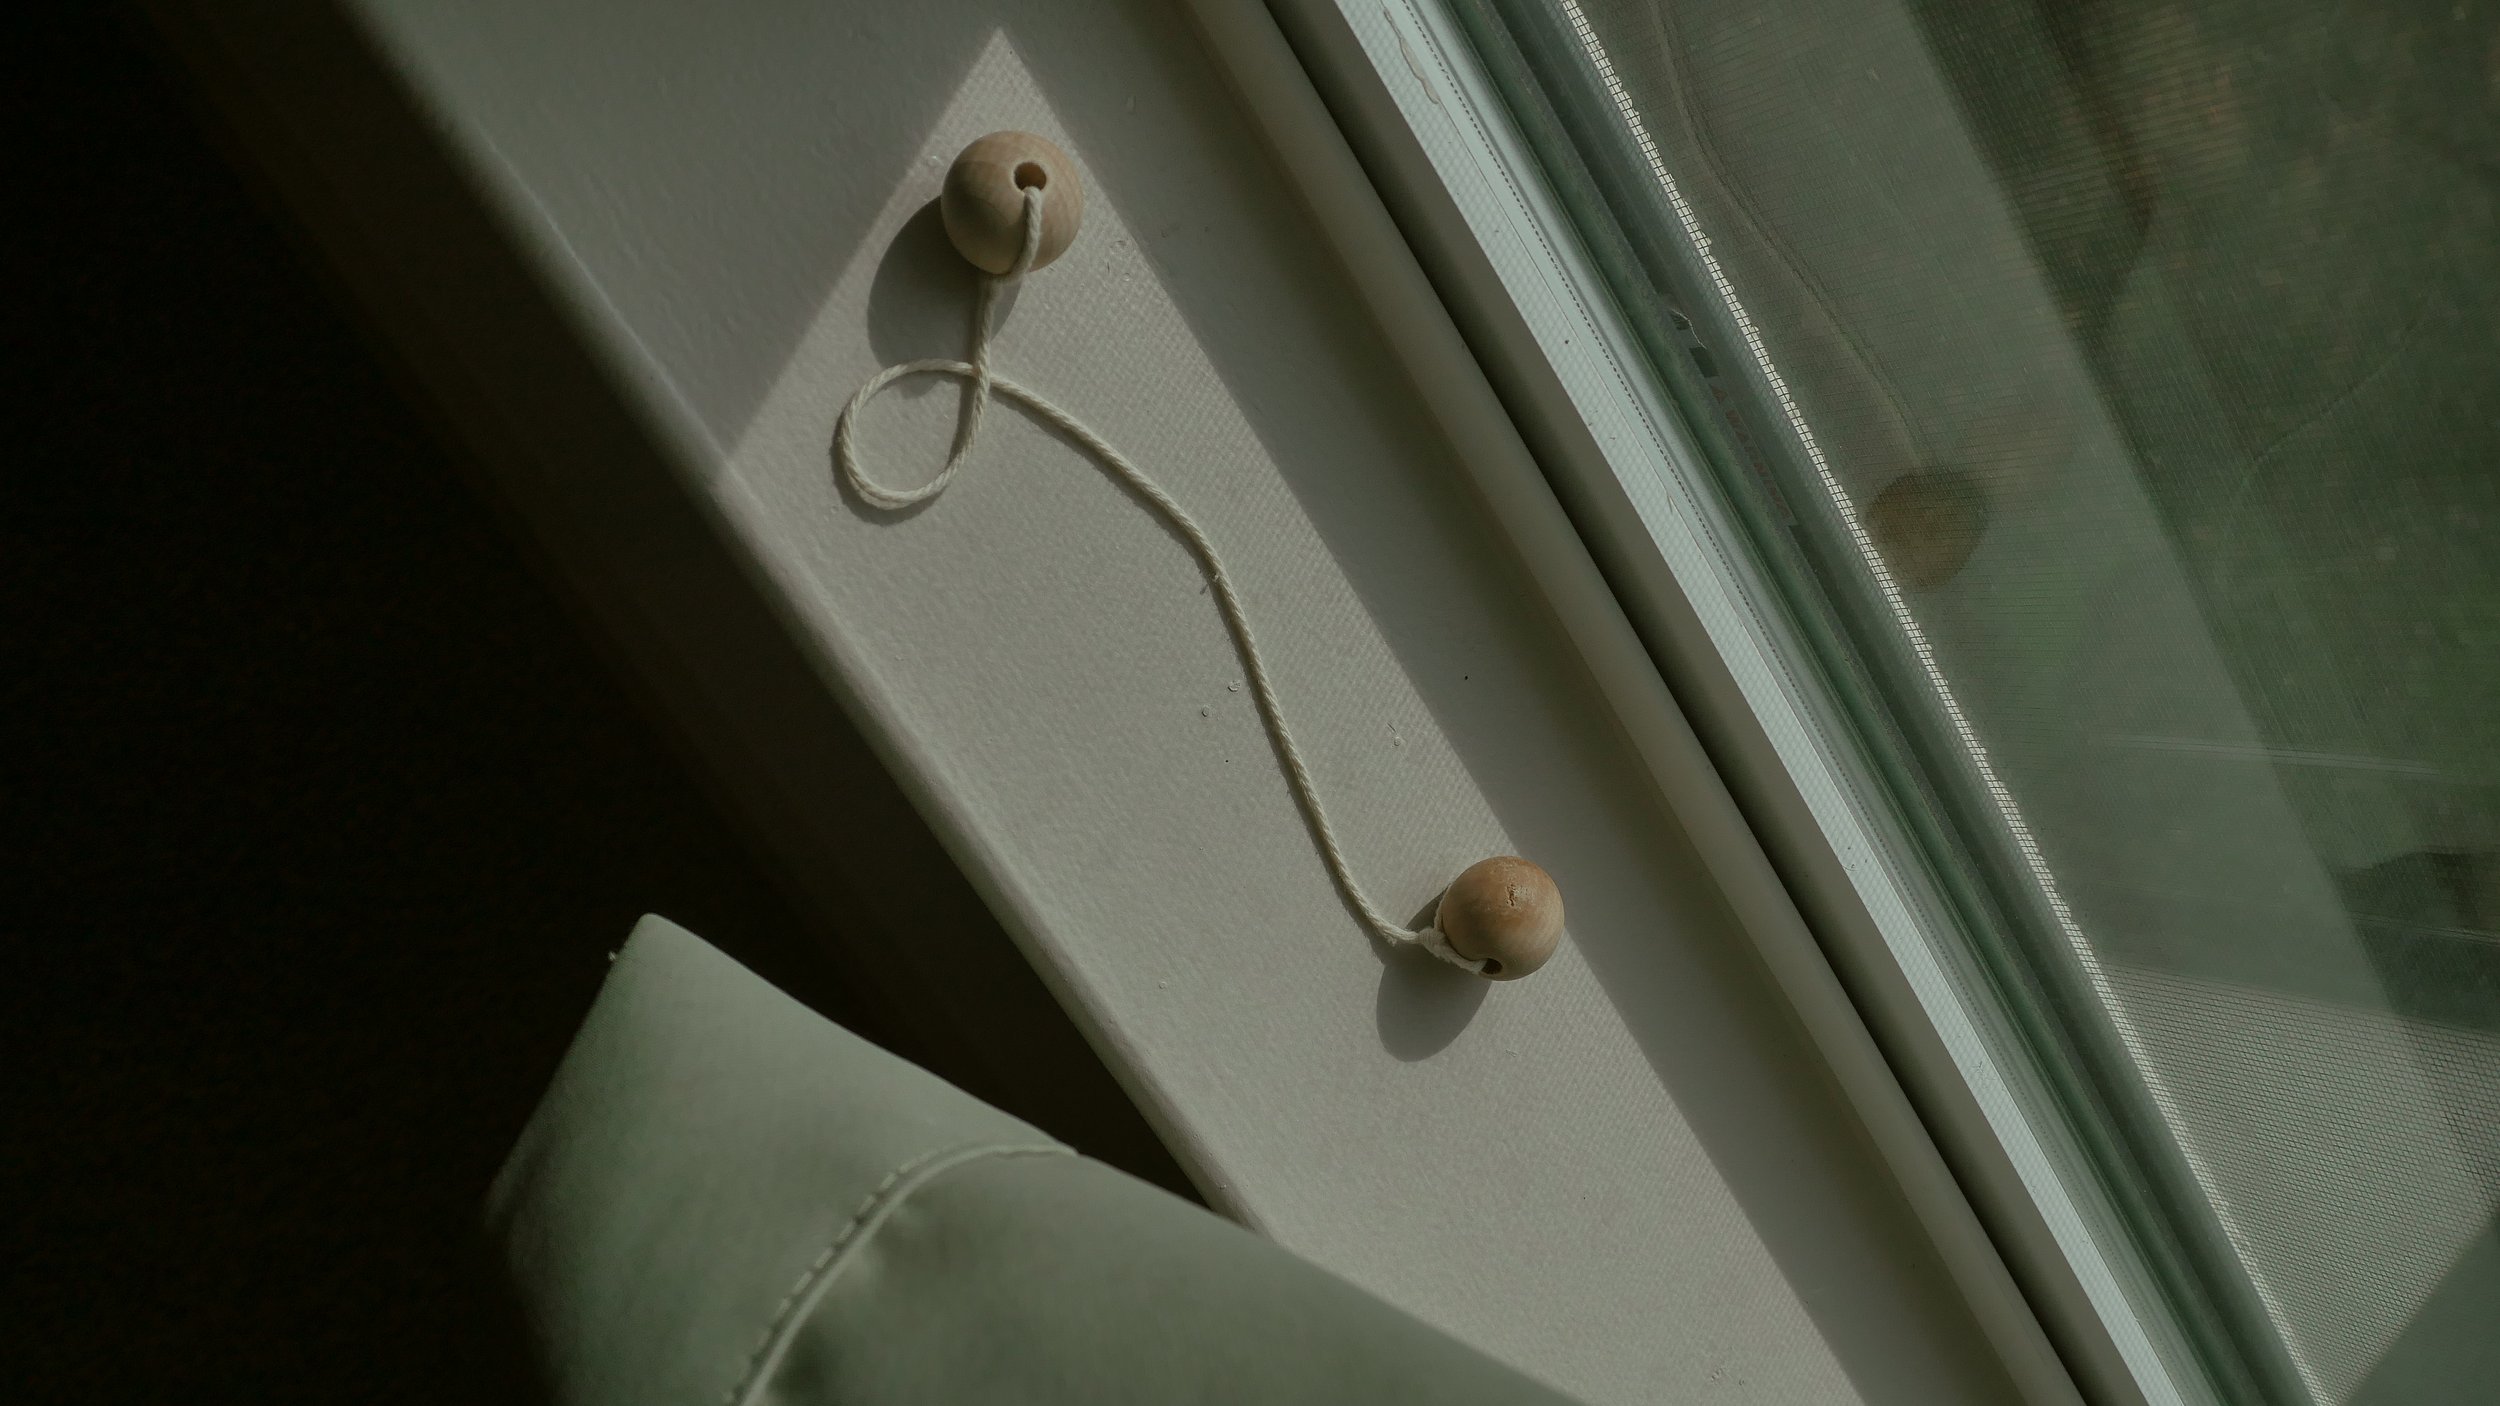
Alt step 2: instead of using the other side of the fabric tape you could use Velcro command strips! The reason I suggest this is because paint in rent options can be very low quality and the adhesive can pull off some tiny specs of paint when you go to remove it to move. If you have high quality paint, this is an extra material you can skip. Either way it’s less damage to the walls than curtain rods.
Step 3:
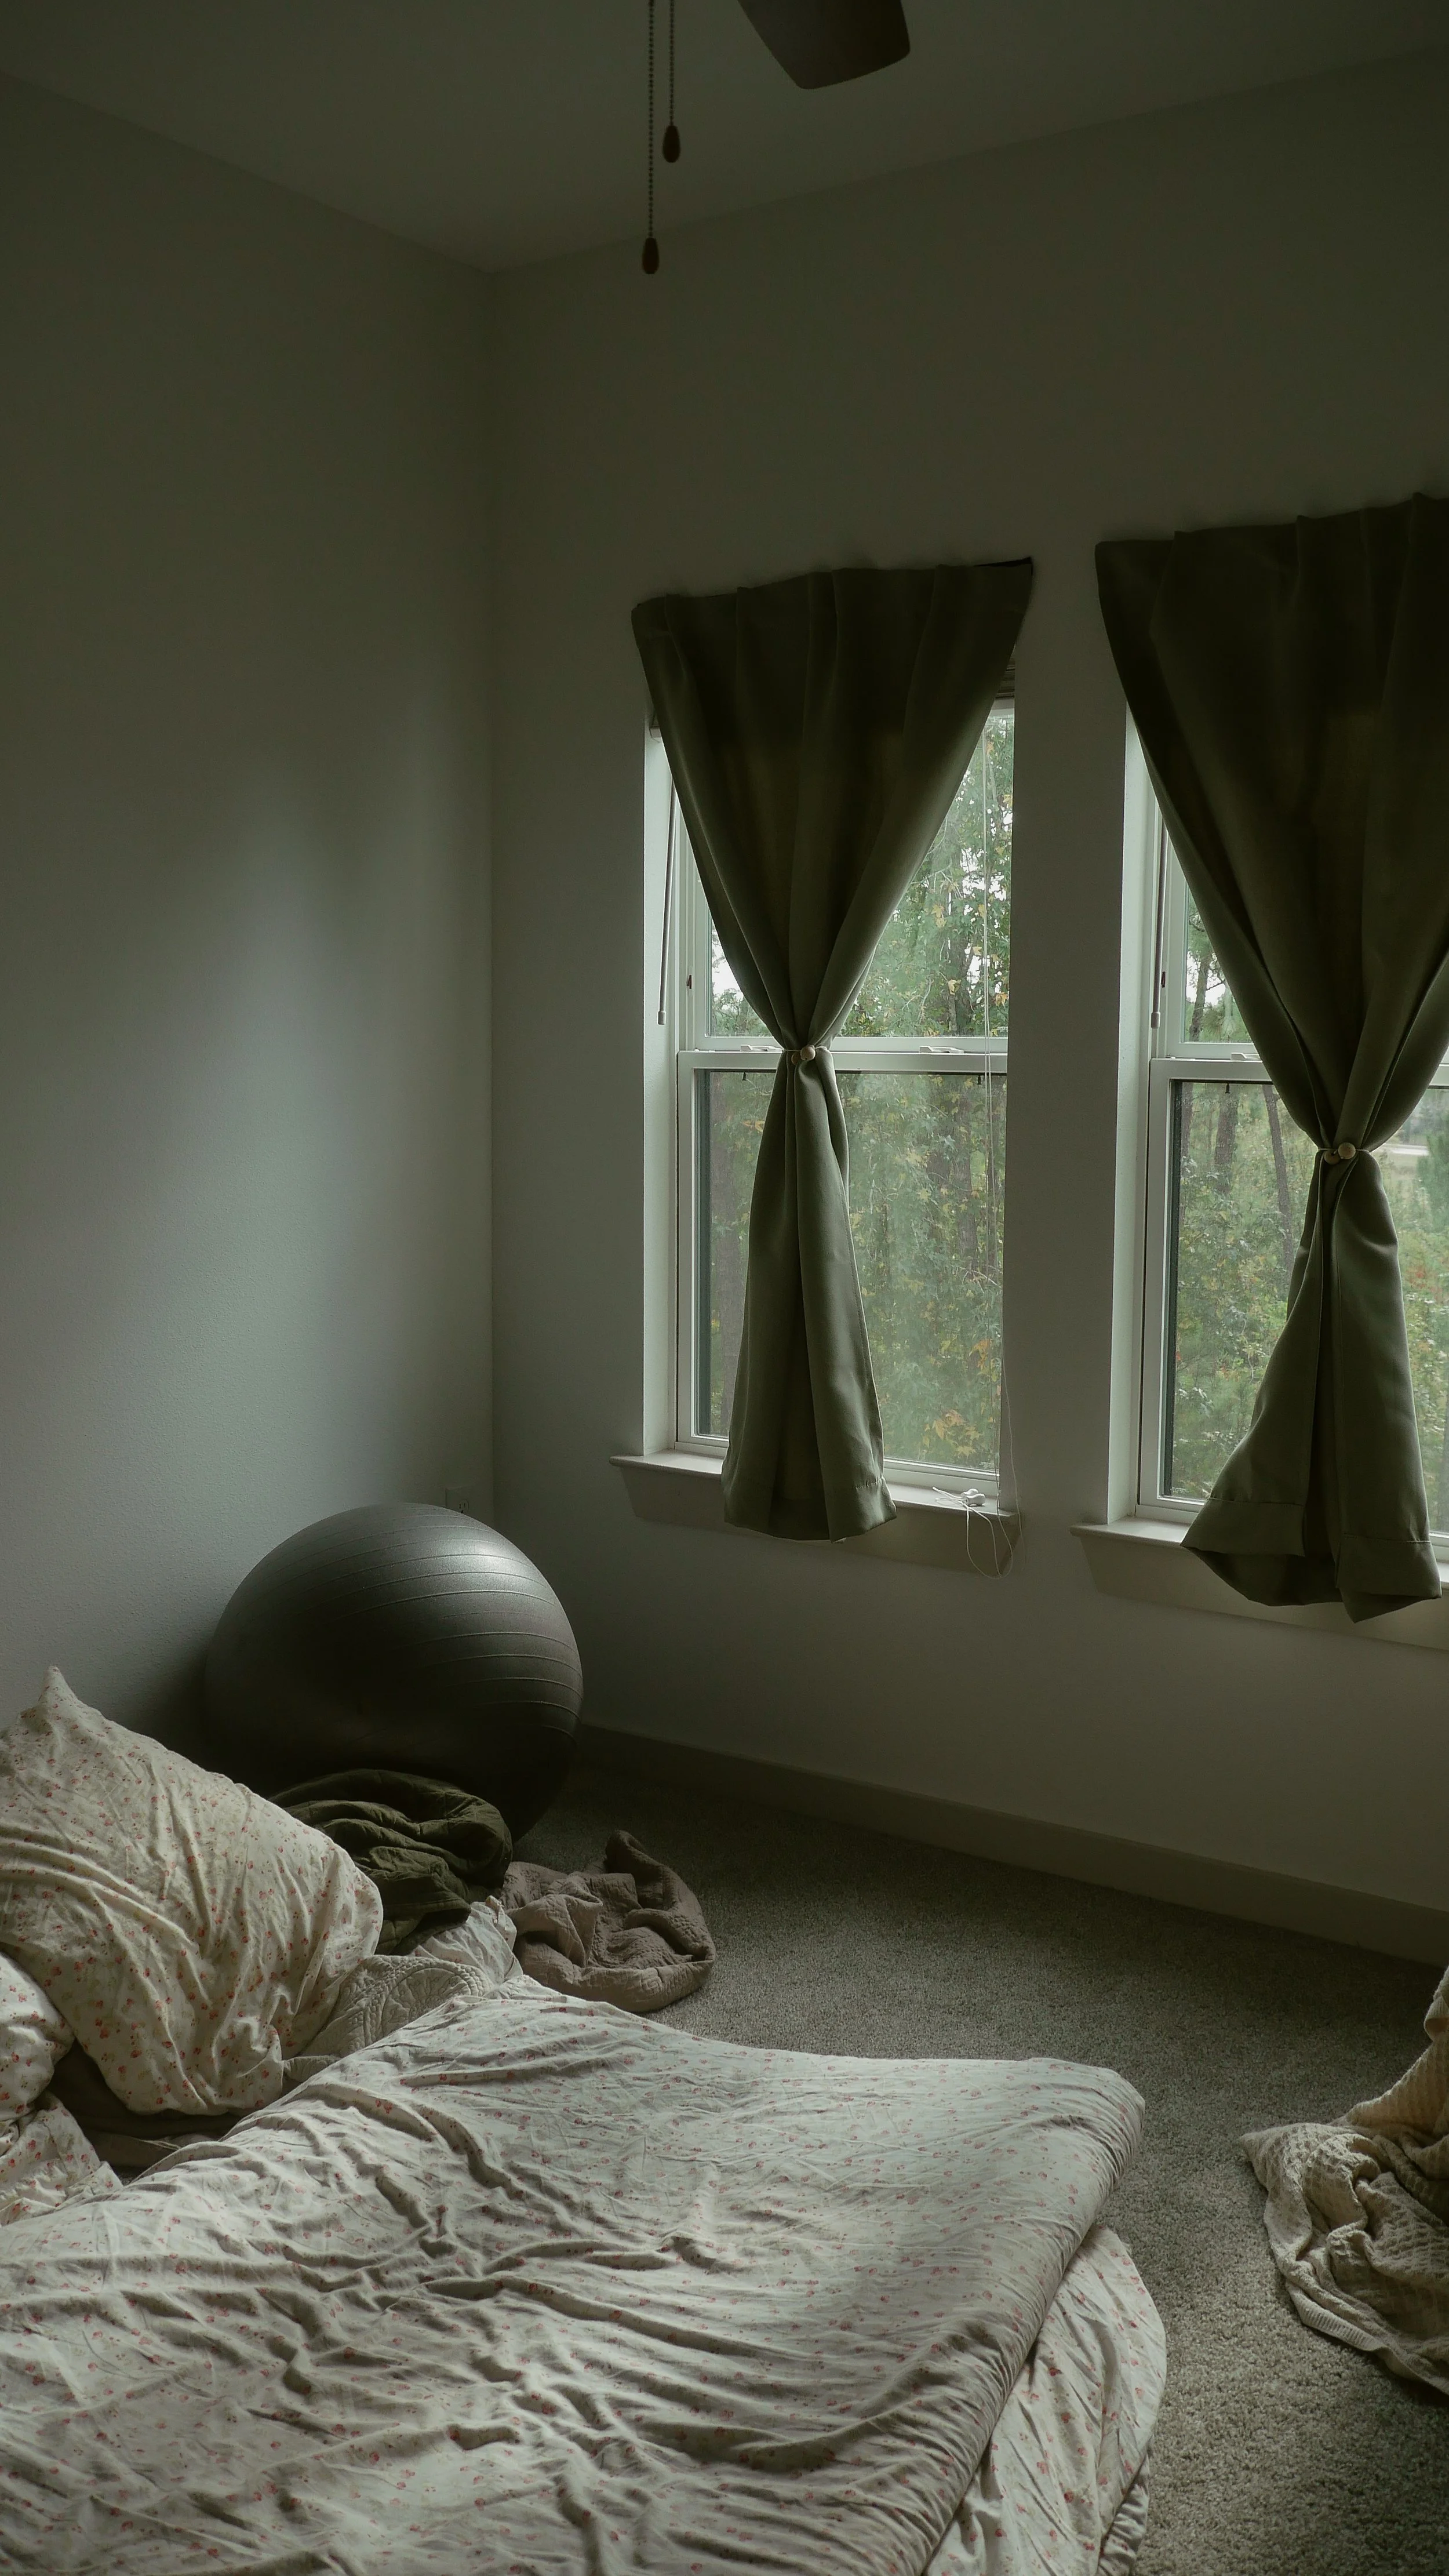
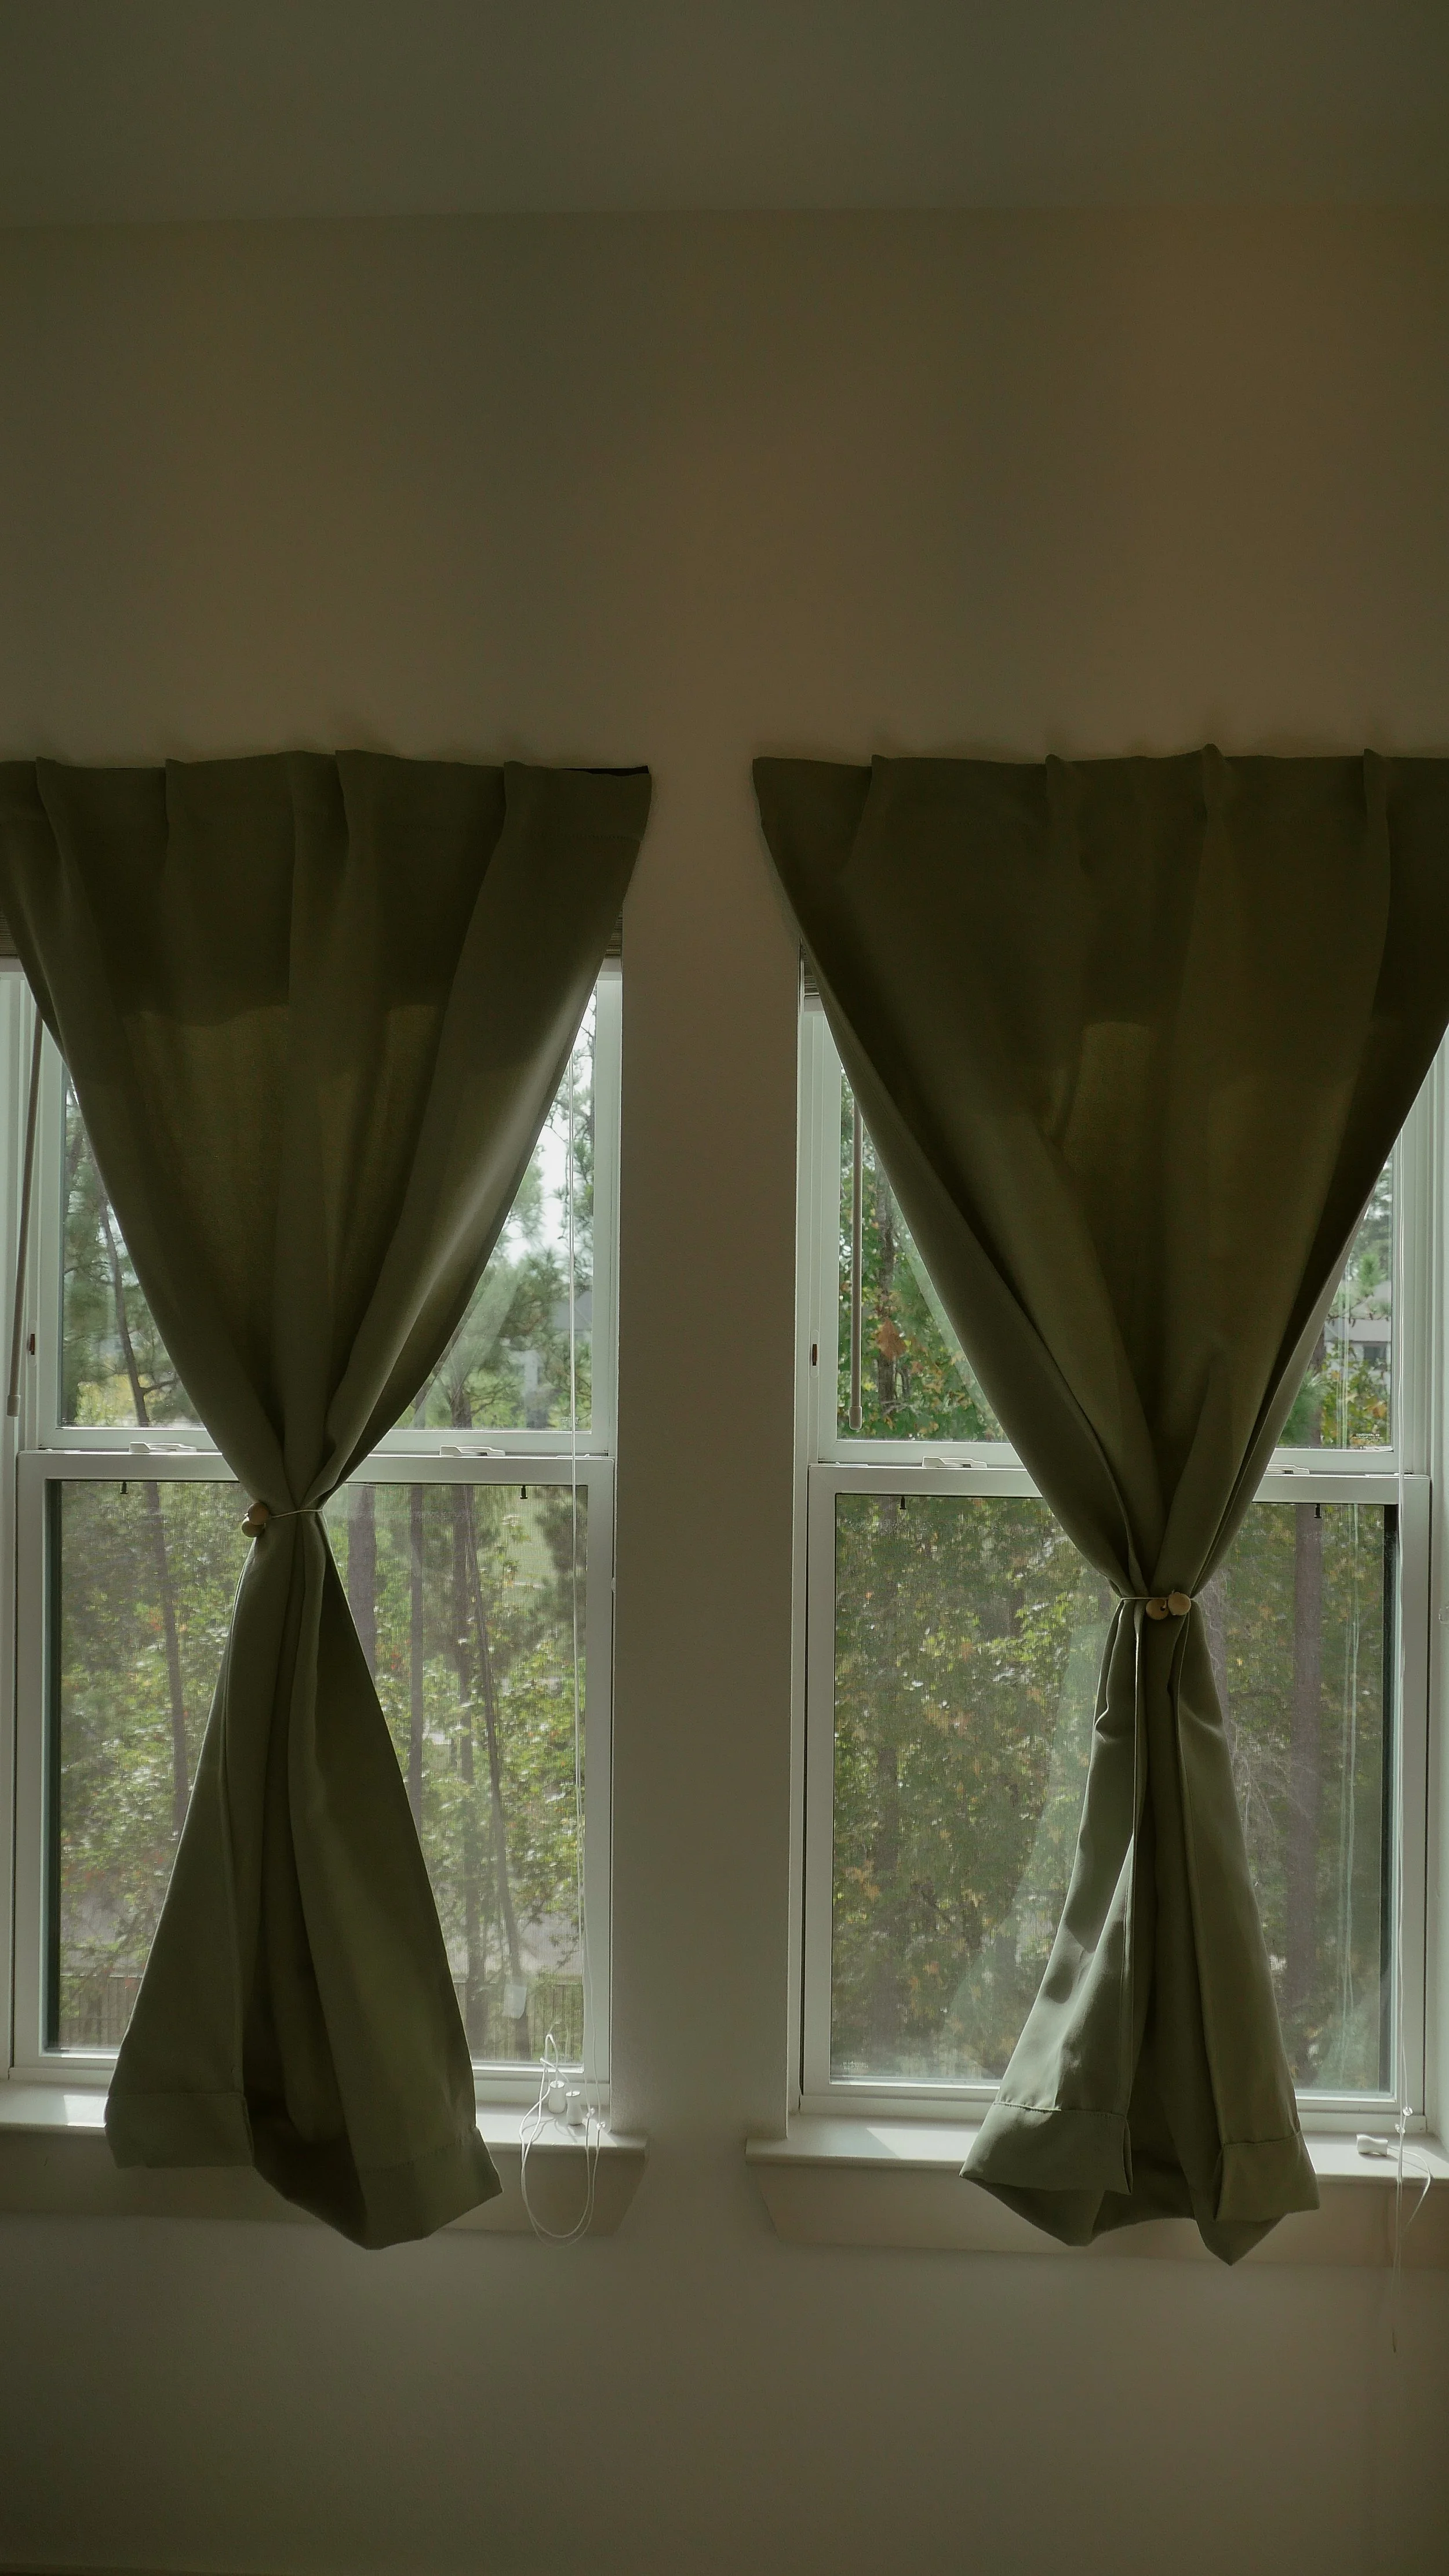
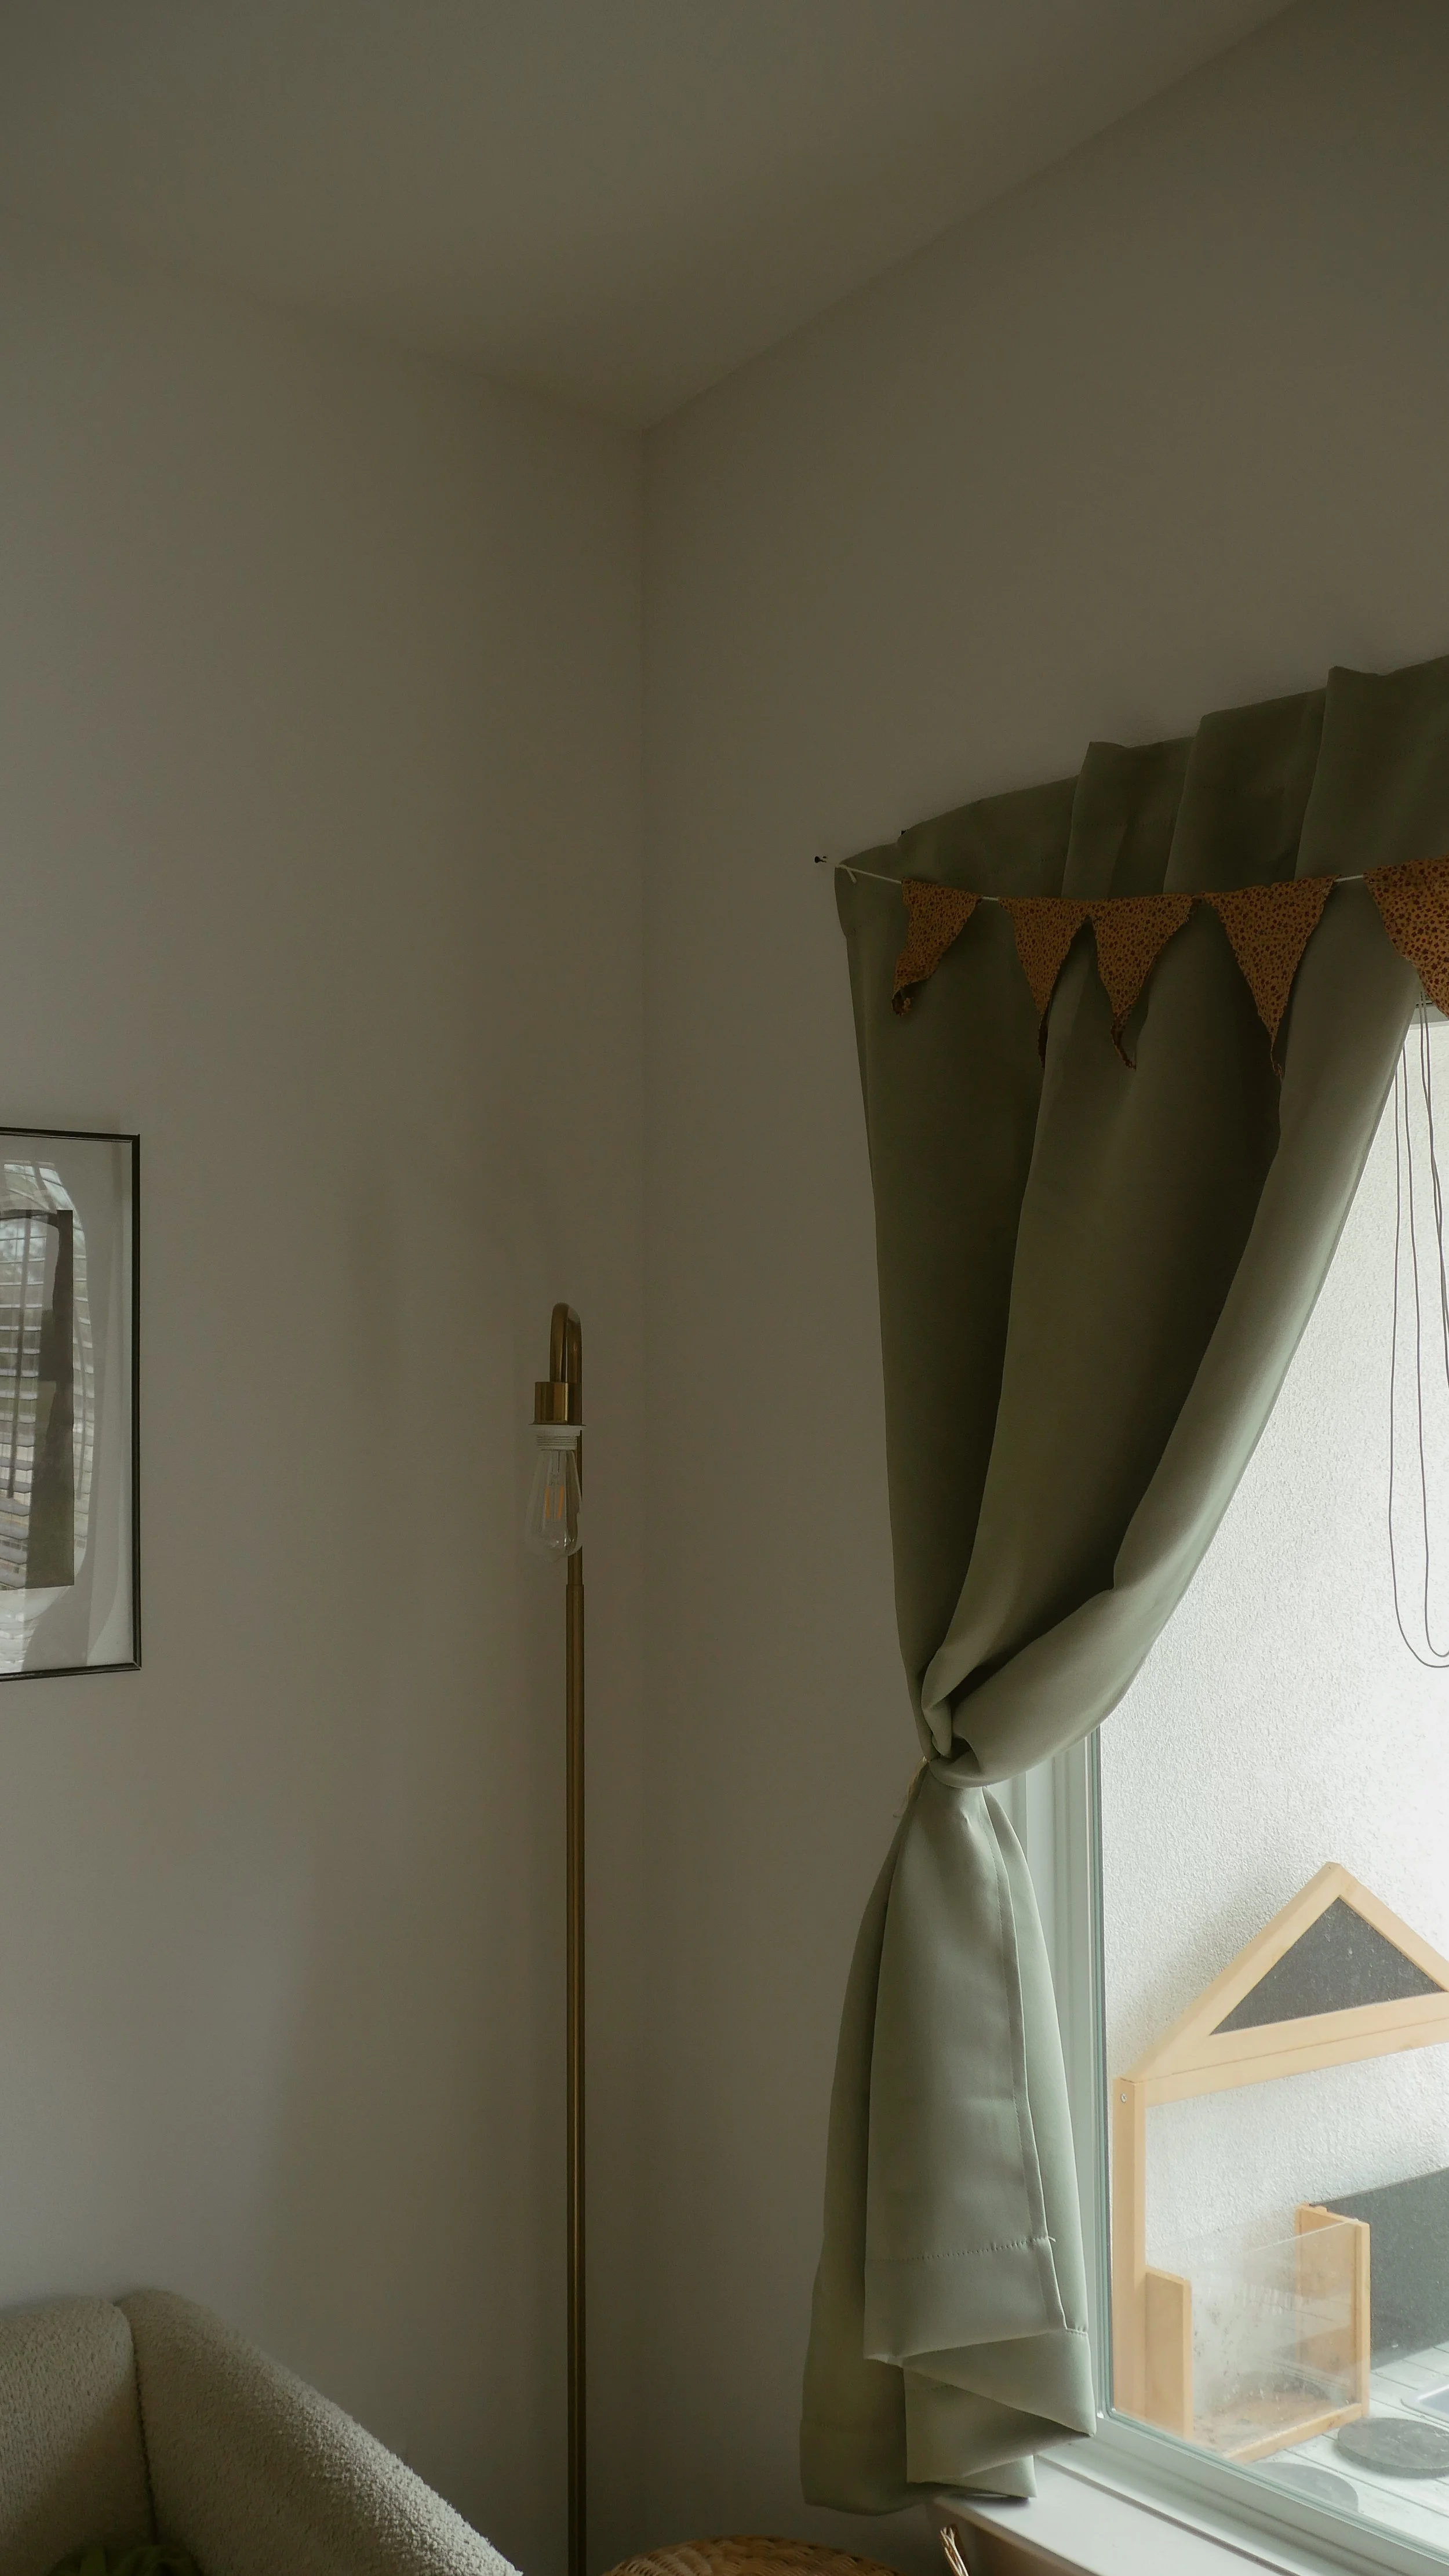
Align both edges of the curtain to the edges of the window. Ideally you have a little space to work with in the middle so you can make little even folds for texture. This step actually makes a significant difference to the overall look in my opinion. I’ve tried it flat and it really just did fall flat.
That’s it!
My favorite part about this DIY is that it blocks out the light that usually sneaks through the top of curtains when they are on a rod.
If you’re questioning if you actually need blackout curtains for your baby? The answer is no. Depending on your context they can be helpful (ex. Bright apartment complex). But honestly? We use them because that’s how my husband has always slept 😂 the babies can sleep in the daylight no issue and that’s how I’d like to keep it.
Up next I’m sharing an even quicker and easier DIY for what I use to pull back the curtains during the day! I find it important to make sure I am opening them every day so dust does not build up. Dust = mold food and we do NOT want that around the babies! Good news is you likely have these materials laying around your house.